
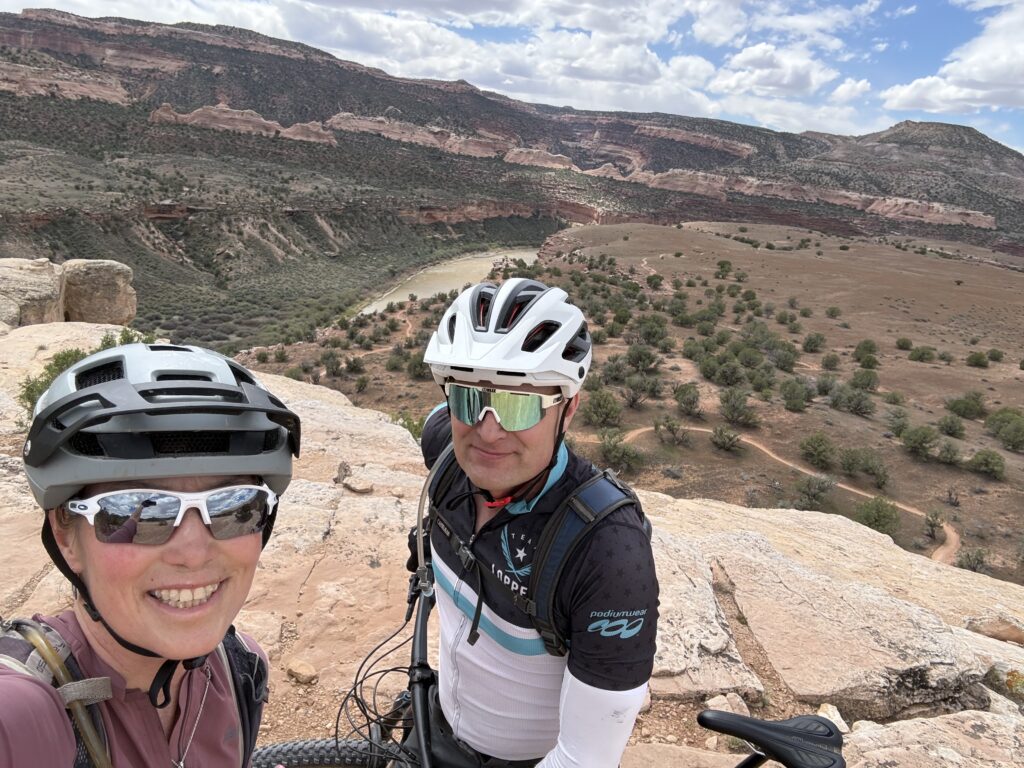
Several years ago, I was on a mountain bike ride with my husband, Craig. His chain started acting up, and he was almost certain there was something wrong with his drivetrain. I suggested that he lube it and clean his chain, since it sounded really dry. Sure enough, when we returned to our van for a quick clean and lube, his chain and shifting problem was quickly resolved.
Many mechanical issues can be avoided by simply keeping your chain and drivetrain well-maintained. Mountain bike maintenance can look intimidating, but keeping your ride smooth and quiet mostly comes down to consistency rather than mechanical genius. Think of it in three stages: before you ride, after you ride, and periodic deep dives. Below is a blueprint to use for keeping your bike running smoothly!
The Ultimate M-T-B Maintenance Blueprint.
1. The Pre-Ride ABC Check
Before you hit the trails, spend 60 seconds doing the ABC Check to ensure you don’t end up walking back.
- A – Air: Check your tire pressure. MTB tires run much lower than road bike tires (typically 18–28 PSI, depending on your weight, tire size, and whether you are tubeless). Squish them; they should feel like a firm orange, not a rock.
- B – Brakes: Squeeze the levers. Do they feel firm, or do they pull all the way to the handlebars? Spin the wheels to ensure the brake pads aren’t rubbing the rotors.
- C – Chain & Drivetrain: Is the chain dry and rusty, or gunked up with black sludge? A quick back-pedal will tell you if it’s running smoothly.

2. Post-Ride Love (Every 1–2 Rides or every 30 miles)
Dirt is the ultimate enemy of moving bike parts.
The Clean Down
- Don’t blast it: Never blast high-pressure water directly at your bike’s bearings (bottom bracket, wheel hubs, headset, and suspension seals). It forces water inside, ruining them. Use a gentle spray or a bucket and brush.
- Wipe the suspension: Use a clean, microfiber cloth to wipe dirt off your fork stanchions and rear shock. This prevents grit from tearing the internal seals.
Chain Lube Protocol
- Clean: Wipe the chain down with a rag (and a degreaser if it’s filthy).
- Apply: Put a single drop of lube on each individual roller as you back-pedal.
- Wait: Let it sit for a few minutes to penetrate the rollers.
- Wipe (Crucial Step): Take a dry rag and wipe off all excess lube. You want the lube inside the rollers, not on the outside, where it will just attract trail dust and turn into sandpaper paste.
3. Periodic Maintenance Schedule
| Interval | Component | What to do |
| Every Month | Bolts | Check for tightness (especially stem, handlebars, and suspension pivots). Use a torque wrench if you have one. |
| Every 2–3 Months | Chain Wear | Use a chain checker tool. Replacing a stretched 0.75% chain early saves you from having to replace an expensive cassette later. |
| Every 6 Months | Tubeless Sealant | Tubeless liquid dries up over time. Pop a section of the tire bead open or use a syringe to top up 2–3 oz of fresh sealant. |
| Every 50 Hours of Riding | Suspension | Perform a basic “lower leg” fork service and an air sleeve shock service (wiping out old grease, replacing bath oil, and replacing dust wipers). |
4. Essential Toolkit for Beginners

You don’t need a professional workshop, but these few tools will handle 90% of your maintenance:
- Metric Allen/Hex Keys: Sizes 2, 2.5, 3, 4, 5, 6, and 8mm.
- High-Quality Chain Lube: (Dry lube for dusty/arid trails, Wet lube for muddy/rainy climates).
- Bike-Specific Wash/Degreaser: Safe for rubber seals and carbon fiber.
- Floor Pump with a Pressure Gauge.
- Chain Wear Indicator Tool – Check out this YouTube video from my husband to show you how to change your chain!
Three Most Common Maintenance Tasks
Since we covered the basic routine and washing, we can get into the nitty-gritty of actual repairs. Here are three of the most common mid-level maintenance tasks that riders usually want to tackle next:
1. Silencing Squeaky Brakes
If your brakes sound like a dying turkey, they are likely contaminated with oil or chain lube.
- The Fix: Remove the brake pads. Spray the metal brake rotors and pads with Isopropyl Alcohol (90% or higher), then wipe them with a clean paper towel.
- The Sanding Trick: If they still squeak, take a piece of fine-grit sandpaper, lay it flat on a table, and gently rub the braking surface of the pads in a figure-eight motion to remove the glazed-over, contaminated layer.
- Warning: Never pull your brake levers while the wheels or rotors are out of the bike, or the pistons will over-extend and stick.
2. Fixing Indexing (Skipping Gears)
If your chain is jumping between gears or hesitating when you shift, your cable tension is likely off. You can fix this while riding using the barrel adjuster (the little plastic knob where the shifter cable enters the shifter on your handlebars).
- If it hesitates to shift up (into a larger, easier gear): Turn the barrel adjuster counter-clockwise (away from you). This increases cable tension, pulling the derailleur toward the wheel.
- If it hesitates to shift down (into a smaller, harder gear): Turn the barrel adjuster clockwise (toward you). This releases cable tension.
- Rule of thumb: Only turn it 1 or 2 clicks at a time, then test it. Small adjustments make a big difference.
3. Dealing with a Dropper Post
If your dropper seatpost is getting sticky or slow to return, it usually just needs a quick clean.
- Unscrew the top collar of the dropper post by hand.
- Slide it up to reveal the seal underneath.
- Clean out any grit with a clean rag.
- Apply a tiny bit of suspension fluid or specific dropper post grease.
- Push the post up and down a few times, wipe away the excess grease that cycles out, and thread the collar back down.
I hope this article has been helpful to keep you riding safely and smoothly on all your upcoming mountain bike adventures!
Kim Rudd